Microgreens are a fantastic addition to any diet, packed with nutrients and bursting with flavour. The good news is that growing your own microgreens at home is simple, inexpensive, and highly rewarding. Whether you have a spacious garden or just a windowsill, you can cultivate these tiny powerhouses of nutrition with ease. Here’s a comprehensive guide to help you get started on your journey to growing your own microgreens.
Why Grow Microgreens at Home?
Before diving into the process, let’s quickly revisit why microgreens are so beneficial. These tiny greens, harvested just after the first true leaves have developed, contain up to 40 times the nutrients of their mature counterparts. They are rich in vitamins, minerals, and antioxidants, making them a superb addition to your meals. For more on their health benefits, check out our detailed blog on The Health Benefits of Microgreens.
What You Need to Get Started
Growing microgreens doesn’t require much. Here’s what you’ll need:
- Seeds: Choose from a variety of microgreens such as broccoli, radish, kale, beetroot, or mustard. Organic seeds are preferable.
- Growing Trays: Shallow trays with drainage holes work best. You can also use seedling trays or repurpose shallow containers.
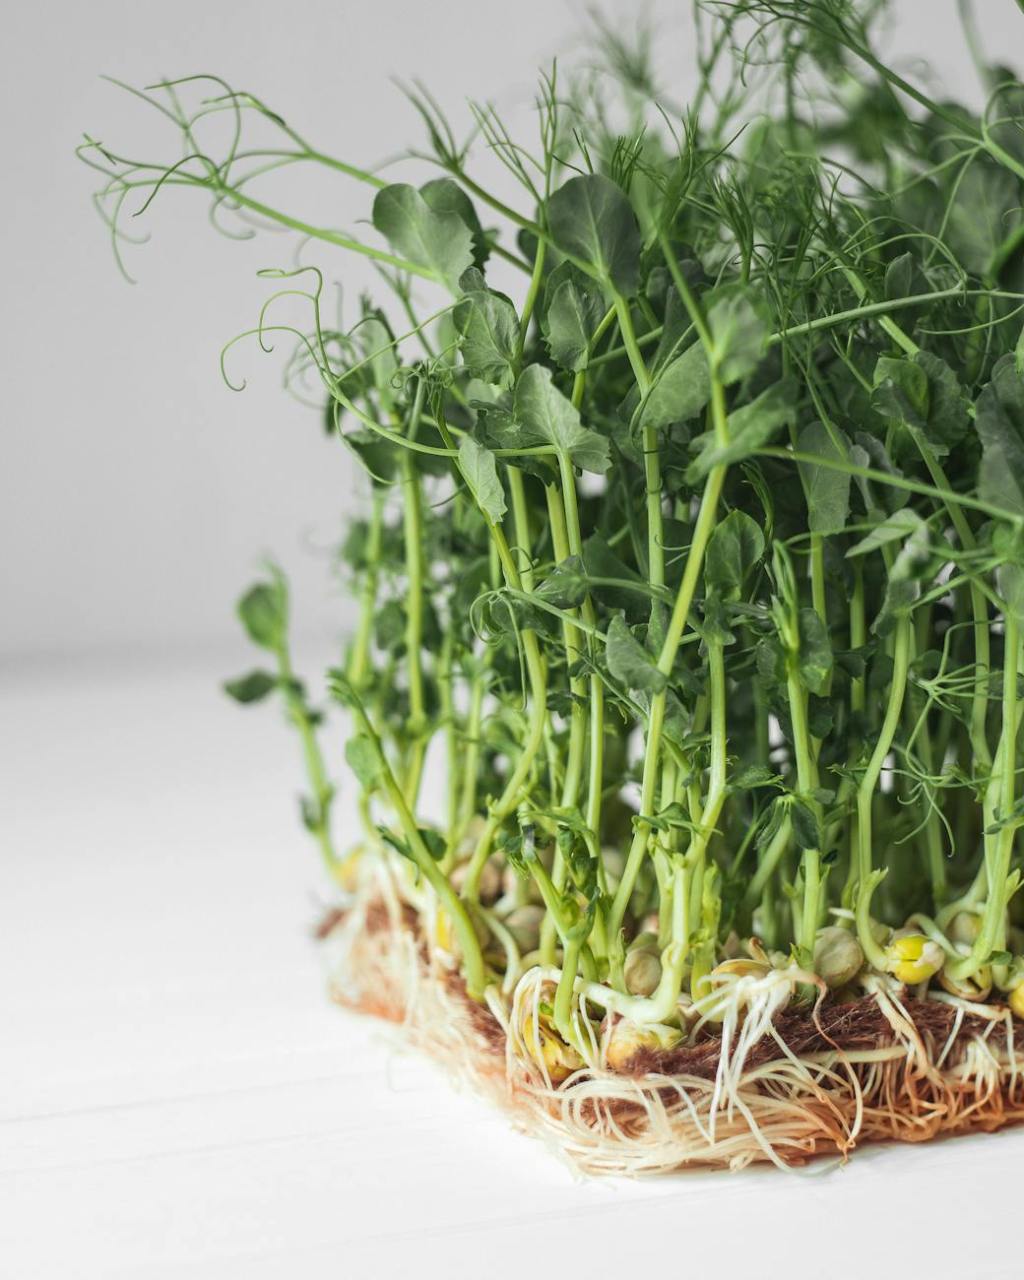
- Growing Medium: Use high-quality potting soil, coconut coir, or a specialised microgreen growing mat.
- Watering Can or Spray Bottle: For gently watering the seeds and sprouts.
- Light Source: A sunny windowsill works well, but you can also use grow lights if natural light is insufficient.
Step-by-Step Guide to Growing Microgreens
- Prepare the Growing Tray
- Fill your tray with the growing medium to a depth of about 2.5 to 5 cm. Level the surface and ensure it’s evenly distributed.
- Sow the Seeds
- Scatter the seeds evenly over the surface of the growing medium. Aim for a dense coverage but avoid overcrowding. Lightly press the seeds into the soil, but do not cover them.
- Water the Seeds
- Gently water the seeds using a spray bottle to avoid displacing them. Keep the soil consistently moist but not waterlogged.
- Provide Adequate Light
- Place the tray in a location that receives plenty of indirect sunlight. If natural light is limited, consider using grow lights to ensure the seedlings get enough light to grow strong and healthy.
- Monitor and Care for Your Microgreens
- Keep the growing medium moist by watering as needed. Within a few days, you should see the seeds begin to sprout. Continue to provide light and maintain moisture levels.
- Harvesting Your Microgreens
- Your microgreens will be ready to harvest in about 7 to 14 days, once they have developed their first true leaves. Use scissors to cut the stems just above the soil line. Rinse and enjoy!
Tips for Successful Microgreen Growth
- Choose the Right Seeds: Different seeds have varying germination times and flavours. Experiment to find your favourites.
- Maintain Proper Moisture: Consistent moisture is key. Avoid letting the soil dry out completely or become waterlogged.
- Ensure Good Air Circulation: This helps prevent mould growth and keeps your microgreens healthy.
- Rotate Your Crops: Grow different types of microgreens to ensure a continuous supply and to benefit from a variety of nutrients.
Incorporating Homegrown Microgreens into Your Diet
Once harvested, microgreens can be used in a multitude of ways. Add them to salads, sandwiches, smoothies, or use them as a garnish for soups and main courses. Their intense flavours and vibrant colours can elevate even the simplest of dishes.
Growing your own microgreens at home is a straightforward and rewarding endeavour that provides a continuous supply of fresh, nutrient-dense greens. With minimal space and effort, you can enhance your diet and enjoy the satisfaction of homegrown produce. Start your microgreen garden today and reap the health benefits of these tiny but mighty plants.
